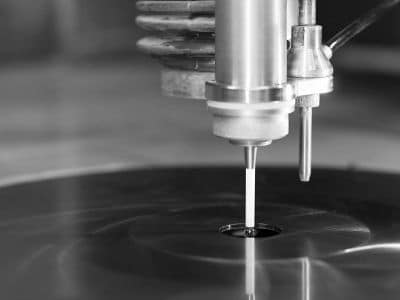
Tactile & Optical Precision Measuring Systems
All Finecut waterjet machines have optional tactical and optical precision measuring options. Each option ensures precise positioning, enhancing the accuracy and versatility of your operations.
Options No. 6003200
FineCamTM High-Precision Alignment & Positioning System
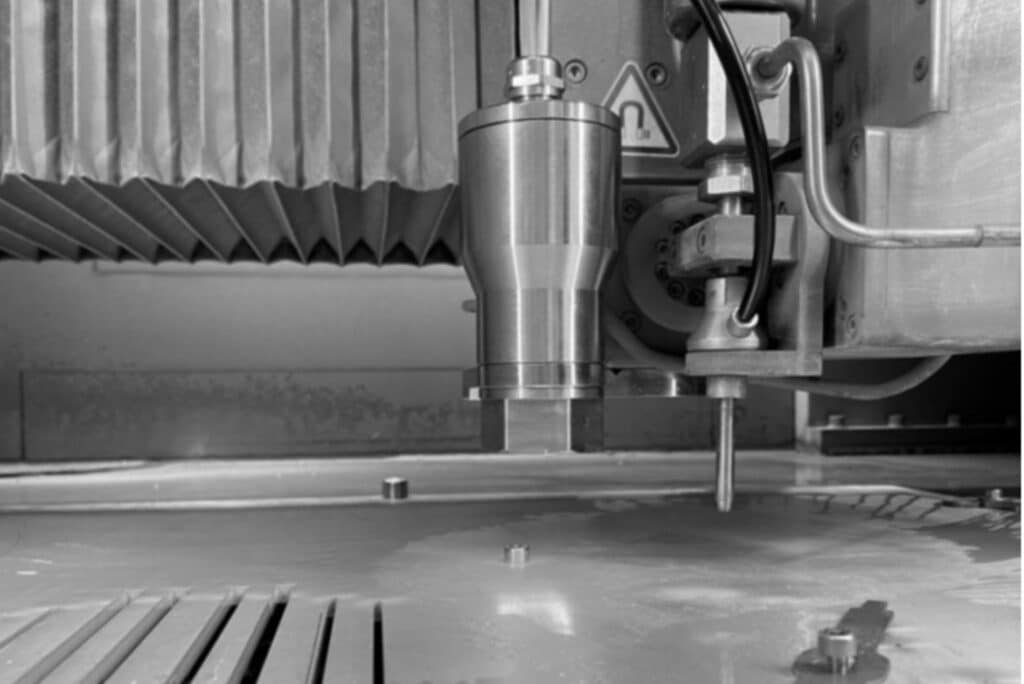
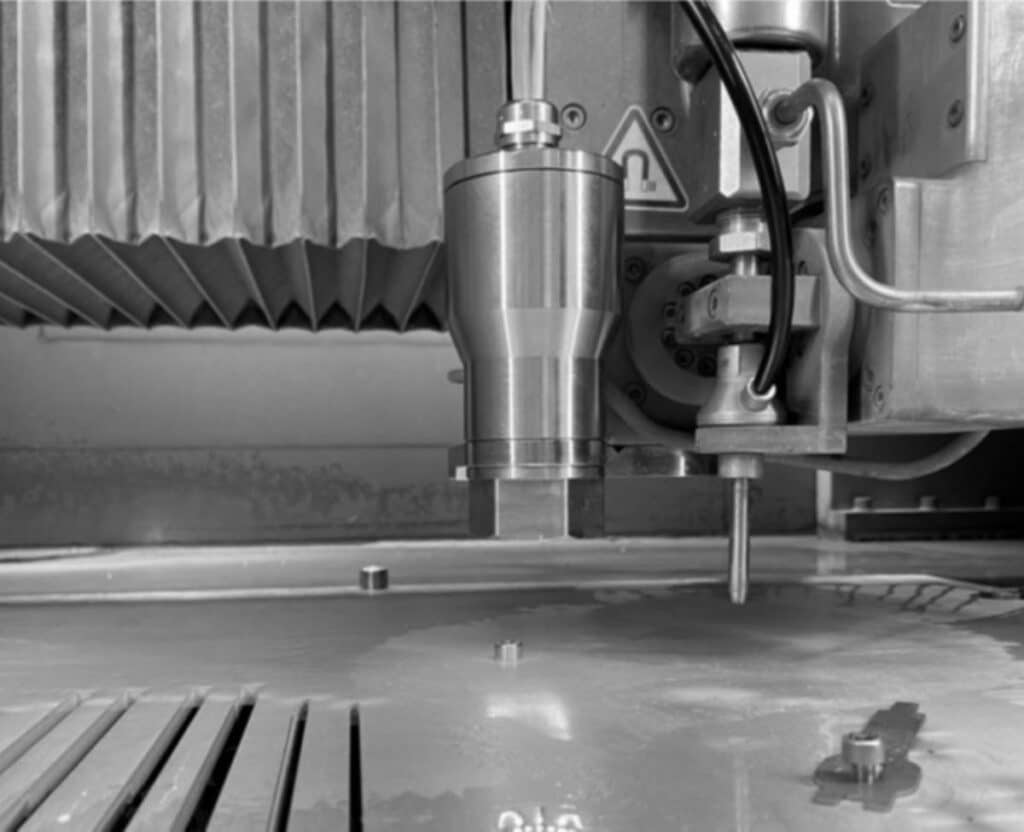
Optimize your Finecut waterjet machine capabilities with the FinecamTM on-machine video measurement system. Positioned adjacent to the cutting head at a fixed offset, this system allows you to precisely locate datum points based on work material characteristics or fiducial marks.
FineCamTM Feature Presentation
Enhanced accuracy by aligning cutting paths to existing geometries.
Alignment: Adjust programmed paths based on part location and orientation using fiducial marks.
Fixture Verification: Locate and potentially calibrate a fixture set up on the table.
Part Geometry Verification: Measure part geometries that need confirmation.
Cut Width Test: Quickly ascertain a correct radius compensation value before initiating the cutting process.
Detailed Study: Examine part specifics to identify optimal starting positions.
When a cutting operation is performed as one in a sequence of machining operations, the cut path will need to be positioned within a part geometry. One way to assess the part position may be to measure its location.
Options No. 6003200
FineProbe – Touch Probe for Precision Alignment & Positioning
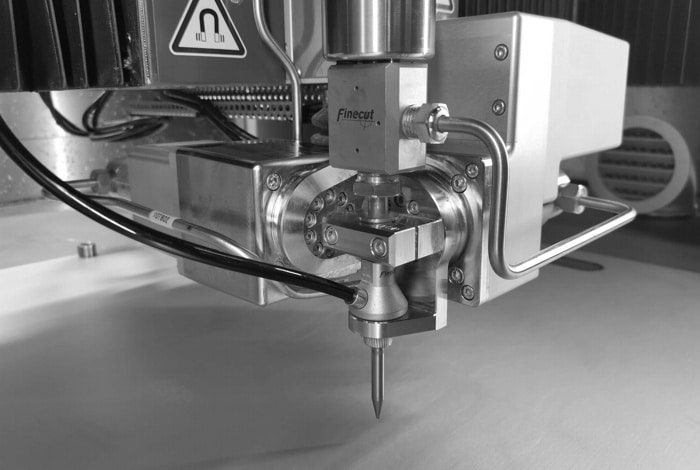
The Finepart touch probe, integrated with a software module, employs the renowned Renishaw LP2DD probe. This addition is ideal for positioning intricate parts that require more than just edge-finding but also demand 3D measurements. For instance, this probe can be employed to determine the inclination angle of a plane.

FineProbe – Feature Presentation
Enables advanced 3D measurements.
Precise positioning of intricate parts for additional machining.
Define specific angles or planes with ease.
When a cutting operation is performed as one in a sequence of machining operations, the cut path will need to be positioned within a part geometry. One way to assess the part position may be to measure its location.
